Sunday 18 May 2014

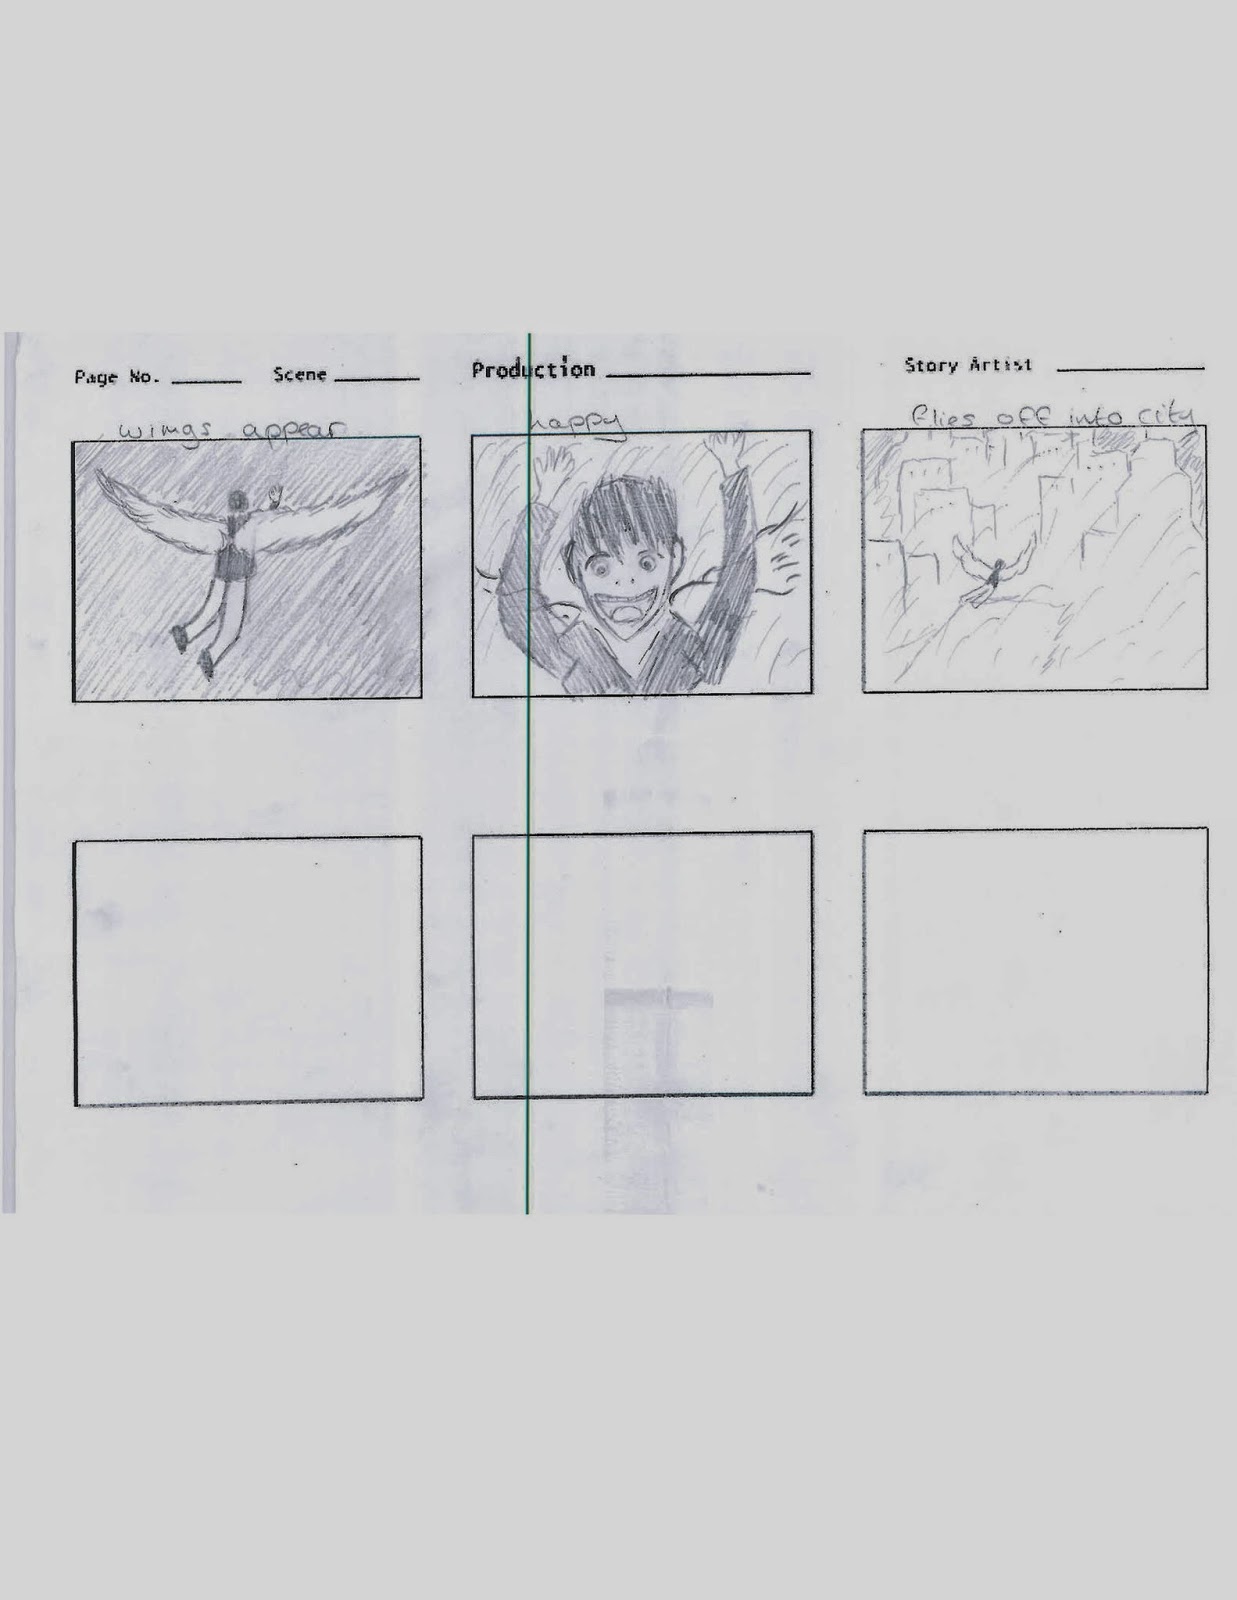
A Forced Disappearance


So here is the final film. Overall I was thrilled with the project. We worked well together as a team and put in a lot of hours and it payed off.

Project (explosion)


Here are a few of the 25 rendered clips I made for the explosion. As you can see the first differs greatly from the last. Once I was finally happy with the explosion I had to import matte painting to the wall, track it and colour correct the scene, in hindsight I should have done this first because once the scene had been colour corrected the smoke stood out like a sore thumb and didn't blend into the background at all. I basically had to delete and import layers again and fiddle with opacity and colour correct the smoke itself. Once the smoke was done I used footage of debris to add to the destruction. We had originally intended to film our own debris against a blue screen and we did film it but in the end it became quite a challenge to import it to the scene and make it look effective. Once the explosion was taken care of I had to import the door created by my teammate into the scene. The door was surprisingly easy to fit in and it worked like a dream. All I really had to do was speed the beginning part of the sequence slightly to make it appear that it really was blasted of its hinges. For a finishing touch I added a slight camera shake onto the scene as well.

Project (after effects)

Creating the smoke for the explosion proved a lot more challenging than I first thought. Seen as filming smoke would have been very hard and impractical to do I used pre rendered footage from Footage Crate. I ended up with about 10 different layers of smoke to make the explosion look real because the pieces of footage I used would end and therefore disappear, this took a lot of layers, timing, rotation and fading opacity to make the smoke flow together and look like one piece of footage.

Project (3ds Max)


Project (rotoscoping)

Rotoscoping proved quite difficult to learn and especially in this scene where we have the two actors coming through the door. I tried my best to have the brick wall in the background however it was proving to be too difficult to do for a low priority piece. Even though it didn't make it into the final film I feel a lot more confident about doing roto and know that i'll be able to do it in my future projects.

Project (security camera)


To create the security camera shot I used after effects software. I searched on Google how to create the effect and it was surprisingly simple to do having never used after effects before. I applied a night vision effect to the footage and changed the colour to grey, once that was done it was simply a matter of adding the final details of what security footage looks like. I created some simple black boxes and filled them with text to show the camera location, date and time. The time box was on after effects in the effects panel.

Sunday 23 March 2014

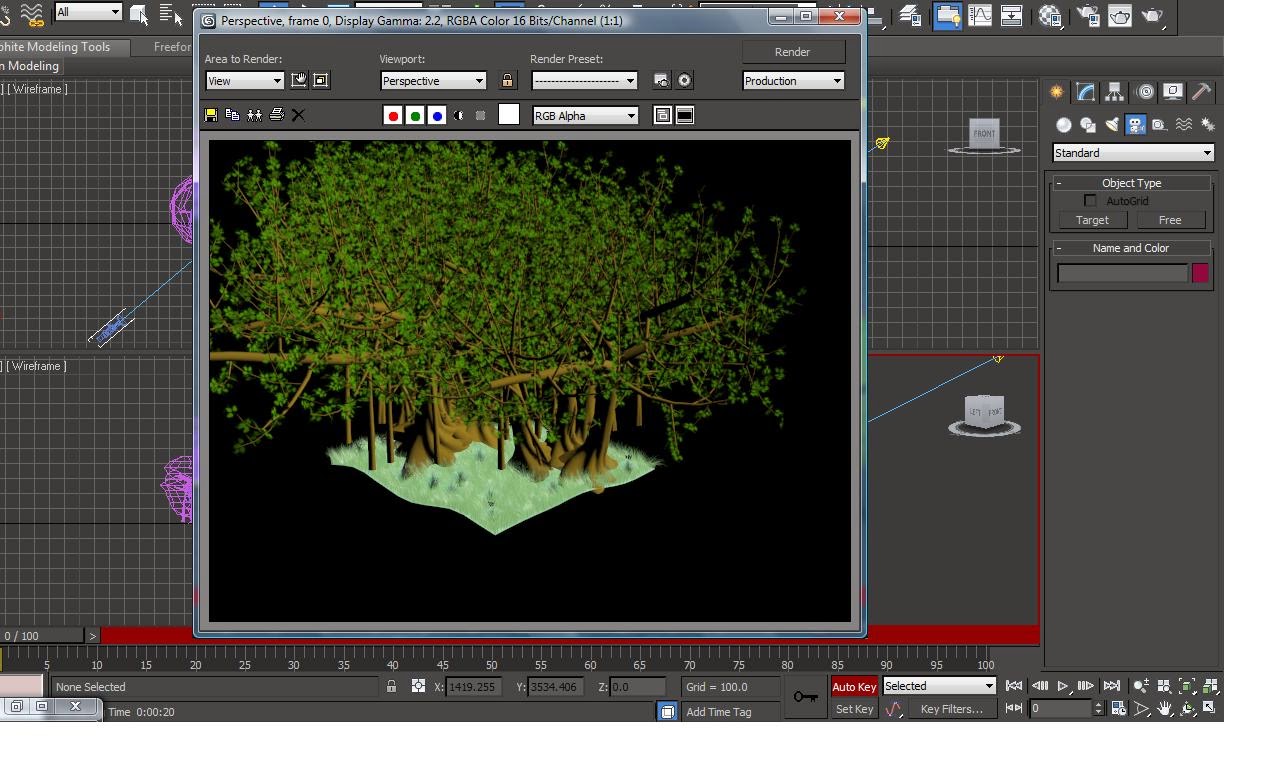
Week 7 ( 3D Graphics )

Texture

Render showing shadows

Using lighting

Render
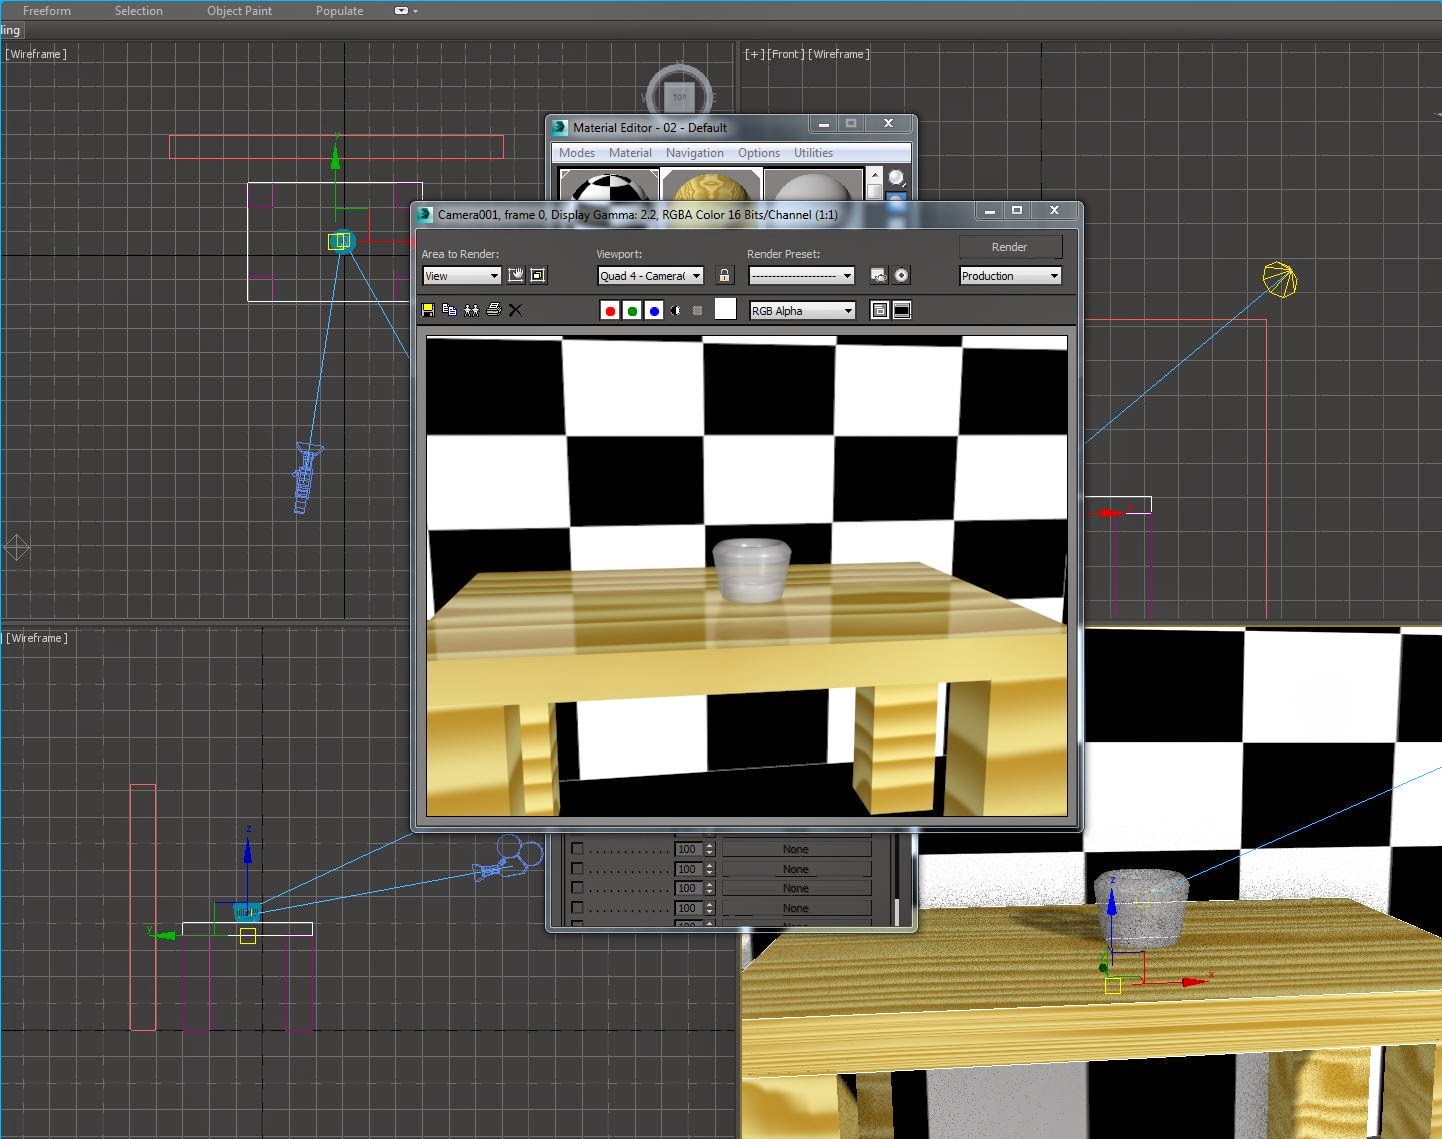
Using camera for animation

Using Materials

Sculptris creature

Camera

Sunday 16 March 2014

Matchmover ( Video Concepts )

Last session in video concepts we were given a tutorial booklet to follow through ourselves on tracking an image sequence in Matchmover. Below are a couple of snaps from the finished thing exported as bitmaps. The session was very useful I thought and helped me understand more on sequences, placing and tracking.


Importing sculptris model into 3DS Max ( 3D Graphics )


Thursday 27 February 2014

Creating and using light ( 3D Graphics )


Creating Shadows ( 3D Graphics )

Today we looked at using light in 3DS Max to create shadows. This was a very useful technique to learn as it makes designs look a lot more realistic and can create the desired affect that you want to establish to the viewer. We used a range of different lights including spot and target to see the different effects they can create and I feel confident that I can now use light effectively.